I have noticed that many teachers want to plan engineering lessons in their classroom. I have some tips to hep get you started or to make your lessons more meaningful.
I was a third and fourth grade teacher for many years. I moved to fifth grade math and science at our middle school and spent three years focused on two content areas. This year I am now teaching engineering and technology. I have about 400 students and see my students every day for one trimester. My curriculum is based on 6 modules: Engineering 101, Material World, Do the Rot Thing, Innovations and Inventions, Love That Dirty Water, and Simple Machines/Chain Reactions. I have learned so much this year about engineering and technology. During the day, I have opportunity to reflect and improve my lessons as I teach them. My modules are in Google slides and include everything I need.
1. Engineering is science and includes standards. Think about STEAM as you plan. I planned my units around our fifth grade Massachusetts science curriculum and added in some math standards.
What standards are you addressing?
What do students need to research/learn about to be successful while going through the process?
How can you make this challenge rigorous for all your learners?
2. Engineers work in groups. It is about collaboration. Students should not work by themselves or in large groups. Every child needs to participate.
If possible plan 3's. Have students sit in triangles so they can talk and all see materials. When making decisions, there is never a tie.
3. Engineers solve problems and should be real world. Making connections.
How is your lesson and activity connecting to the real world?
How is this connected to other subjects and standards?
Discuss different types of engineers and engineering.
4. Engineering includes discussion of clients, criteria and constraints.
Who is the solution going to help?
How can we test our designs?
What materials, time, money, etc can be used?
5. Engineers persevere and make improvements.
Students need to make improvements as they build and test
Students give suggestions to other groups on how they can improve
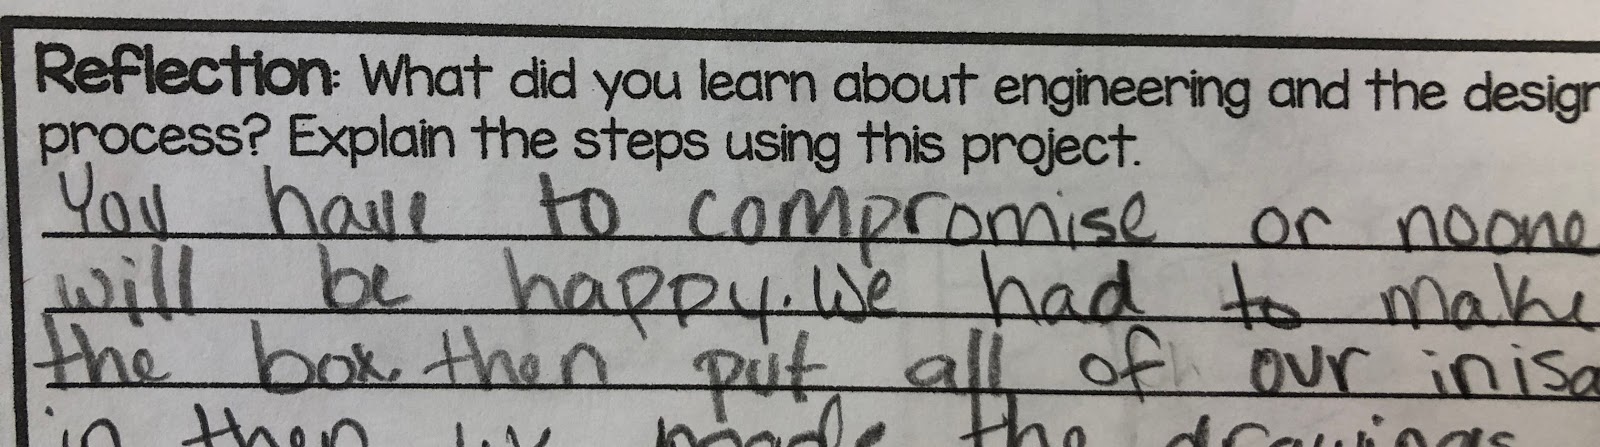
Students can reflect on how they can improve their designs in writing
6. Know the difference between a Warm-up and a Challenge!!!!
A warm-up is something done to get students comfortable working in groups. It may be used to get them familiar with a material. These are popular at the beginning of the year or at the start of the lesson.
I know that many teachers use tower challenges with all kinds of materials like spaghetti, blocks, cups, newspaper, etc. I start my term with a tower challenge that leads into structures and building building.
Warm-ups are fun but should be meaningful.
Challenges include the steps of the Engineering Design Process: problem, Research/Brainstorm, Build, Test, Improve, and Communicate.
Challenges can be integrated into all subject areas.
7. Engineering is about the process. You are providing your students with 21st century skills that will help them in any career that they choose.
Remind your students that failure is okay and that we persevere.
Students are using critical thinking and creativity.
Collaboration is key. Working our problems with a group.
Our fifth graders have to take the Massachusetts STE test in the spring. It is a state test that covers grades 3-5 science, technology and engineering standards. As part of a review, I had my classes create basic circuits using batteries, holders, wires, light bulbs and sockets.
I wanted to bring their knowledge to the next level. We then used the snap circuit kits to learn about more complex circuits. My student LOVE them!!! The projects are endless. Please warn your students about the fragile wires on some of the pieces. I had to order some new parts. I am going to learn how to solder.
We read the Science A-Z book on "Setting Up Circuits." My students needed information on resistors and transistors. I buy the annual subscription and find it worthwhile.
The next part of the module was having my students read the book "The Boy Who Harnessed the Wind." It is a true story about a boy in Malawi who made a windmill to generate electricity and water for his village. My students were intrigued with the story. They had so many questions. We watched a video about William.
We brainstormed problems in the story and narrowed down the ones that could be solved with engineering. This lesson is based on Novel Engineering. A project that was developed by Tufts University. Please check out their website for ideas and challenges.
Here is our list of problems
The students had to use electricity and teach William's village that would solve the following problems; no water, darkness and extreme heat. The chart below are the materials that my students used. I am a big fan of recyclables.
One of my standards is sketching and showing related parts. Here are two great examples.
Here are some photos of my students and their designs. We had many types of fans, street lights, a drill for water, and a few other original ideas. Next term, I want to do a lesson on just propellers and fan blades.
To model how a windmill can generate electricity I bought a crank radio/flashlight from Amazon. The students had the chance to crank it and listen to music in class.
What are KEVA Planks? (visit http://www.kevaplanks.com/)
Every building piece is the same.
KEVA planks are about 1/4 inch thick, 3/4 inch wide and 4 1/2 inches long.
No sorting or looking for special pieces
You build structures by simply stacking the planks.
No glue or connectors.
Easy clean up.
Made of sturdy maple.
The only difference between the two sets below is the contraptions set has two balls and the manuals are different. The contraption manual has some ways to set up ramps. I have both sets.
Check out a video using the contraptions
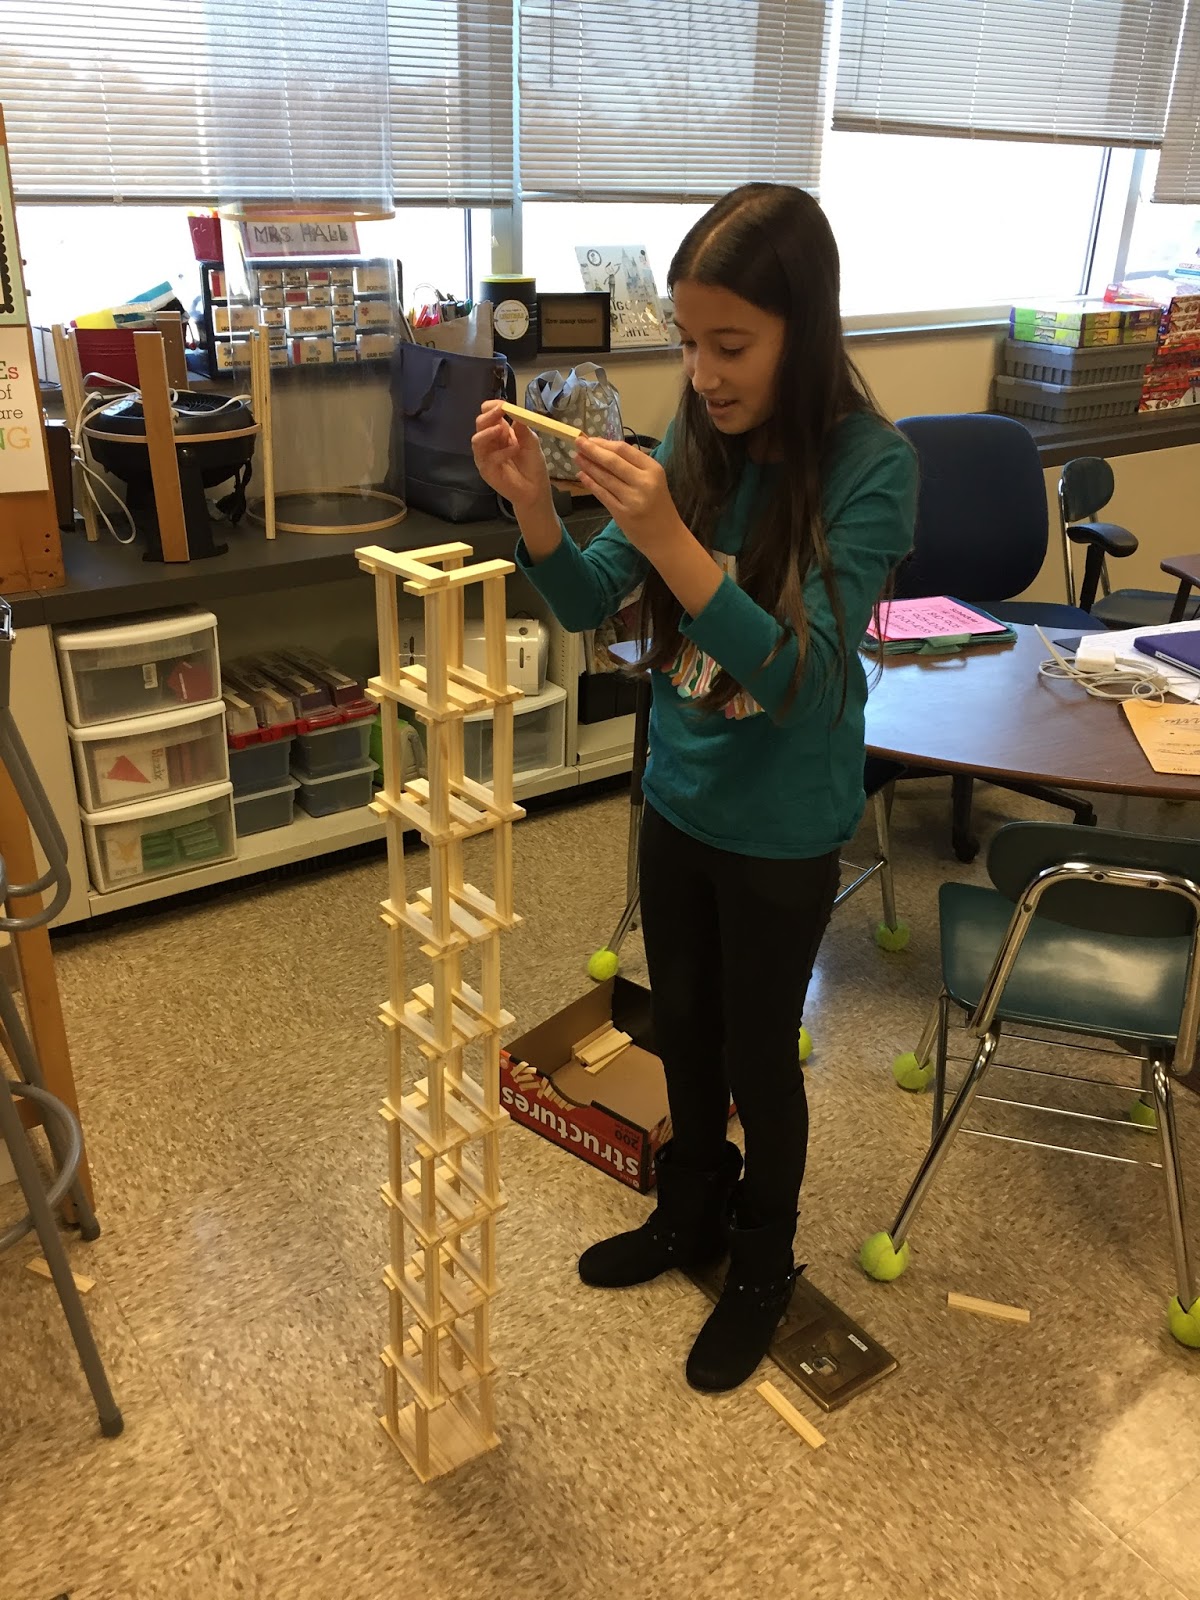
My students' first challenge with KEVA planks was to build the tallest tower using 50 planks. They all quickly built a tower looking like a Jenga game. I walked around the room with a meter stick measuring and asking them to try another way. How can we get them taller?
I did this lesson with five classes and it was so much fun to watch the process in all of them. As the time went on the towers got taller. They figured out various ways to get height.
KEVA Planks are a great filler when students are finished their work before other groups. I had them create bridges during our bridge unit.
I use KEVA Planks as a choice at Maker Space Club. The possibilities are endless.
The Boston Children's Museum has an exhibit that is very inspiring.
KEVA has an amazing website with information, lesson plans, building ideas, videos and much more.